
How do appointment notifications and my balance work?
For: Owner
In short
Turn on appointment notifications first, in “Settings › Plan & billing”. After that, customers get a text when an appointment is booked, before it starts, and when it is rescheduled or canceled. Each text is charged per segment from your “Text & call balance”. There is no monthly fee. Phone assistant call charges also come out of this balance.
Steps: turn on appointment notifications
- Go to “Settings › Plan & billing” and tap “Appointment notifications”. The screen shows the price per segment.
- Tap “Turn on appointment notifications”.
- Check the details and tap “Turn on”. If your balance is too low, the button shows the amount to pay. Appointment notifications turn on after you pay.
- The screen shows “Appointment notifications are on”.
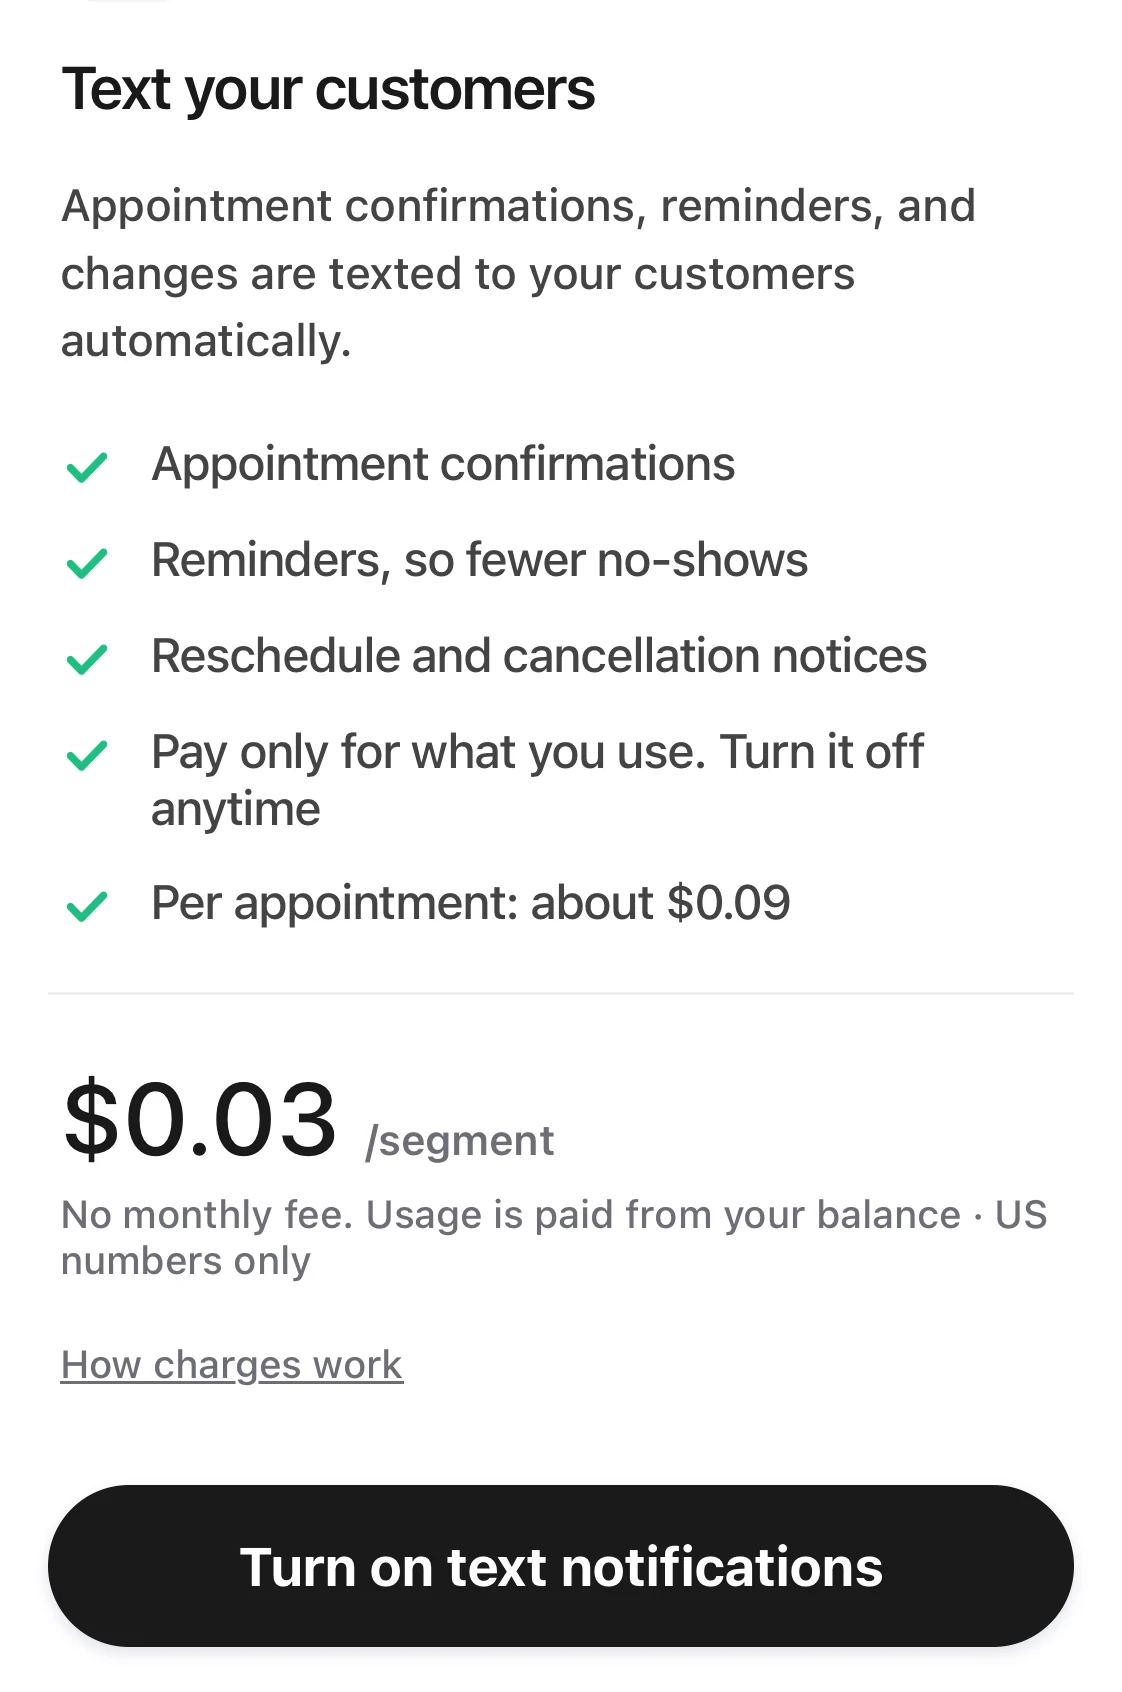
The Appointment notifications page: the price per segment, no monthly fee, and the Turn on appointment notifications button under it.
Steps: add funds
- In “Plan & billing”, under “Text & call balance”, tap “Add funds”.
- Choose an amount, or enter your own.
- Tap “Next”, then pay.
Steps: refill automatically
- Under “Text & call balance”, tap “Auto-refill”.
- Turn on “Add funds automatically when low”.
- Set “When balance is below”, “Amount to add”, and “Monthly refill limit”.
- Tap “Save” in the top right corner, and confirm as the screen asks.
Good to know
- When your balance runs out, the screen shows “Texts are paused”. Customers who gave an email address get email notifications instead. Online booking keeps working.
- Your balance does not reset each month. Tap “See usage” to see what each text cost. You can also tap “Download usage (CSV)”.
- One appointment usually uses 2 or 3 text segments. For the full details, see “How charges work” on the “Appointment notifications” screen.
- To stop sending texts, tap “Turn off appointment notifications” on the “Appointment notifications” screen. Customers with an email address get email notifications instead.